SQL PHP HTML ASP JavaScript articles and free scripts to download
HOME
PhotoShop Tutorial
Gradient Tool
Marquee Tool
Site Map
ASP Tutorial
JavaScript Tutorial
SQL Tutorial
PHP Tutorial
HTML Tutorial
Articles
Knowledge Management
Page Rank Check
Contact Us
Subscribe
Submit your email address and receive article and product notifications. Your email is safe with us.


Creating a Glassy Button in Photoshop


Creating a Glassy Button in Photoshop
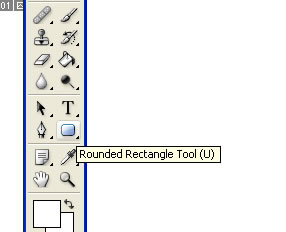
Create a new file and name it as GlassyButton.psd. Select Rounded Rectangle Tool. Zoom tool
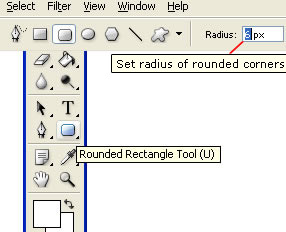
Set radius of rounded corners as per your requirement from Options Bar. Zoom tool

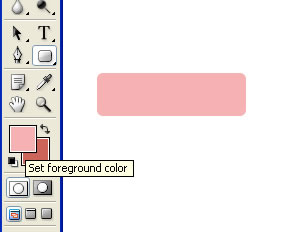
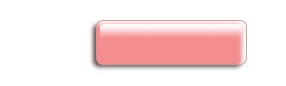
Set foreground color and draw a rectangle shape.

Zoom tool

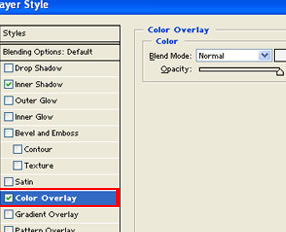
Set Stroke and Inner Shadow
as in Fig(1),Fig(2)


Zoom tool

Fig(1)

Zoom tool

Fig(2)


Zoom tool
Take new layer and draw another rectangle smaller than the previous one.
Add Layer Mask to the new layer, and select the gradient tool and drag on the rectangle shape.
Select new layer. Right click on the layer then you will get options, Select 'create duplicate layer' from those options.
Now you have to Transform the shape (flip Vertical).

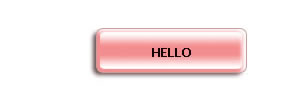
wow, you have created the Glassy Button. Now you can add
Some text on the button.


Water Mark Image  | Gradient Tool  | Marquee tool  | Crop tool  | Move tool  | Magic tool  | Lasso tool  | Anchor Point tool  | Clone Stamp Tool  | Color Sampler Tool  | Custom shape tool  | Ellipse Tool  | Eye Dropper Tool  | Hand Tool  | Measure Tool  | Pen Tool  | Polygon Tool  | Rectangle Tool  | Rounded Rectangle Tool  | Zoom Tool  | Convert Point Tool  | Free form pen tool  | Delete Anchor point Tool  | Making an EyeBall  | Creating a 3DBall  | Removing Background of an Image  | Creating a Glassy Button  | Creating Impression Effect

Subscribe
Submit your email address and receive article and product notifications. Your email is safe with us.

Scripts
PHP
JavaScript