Google cloud MySQL setup
We are using Python here but you can use other languages like PHP to connect and manage cloud database.
Verify payment details
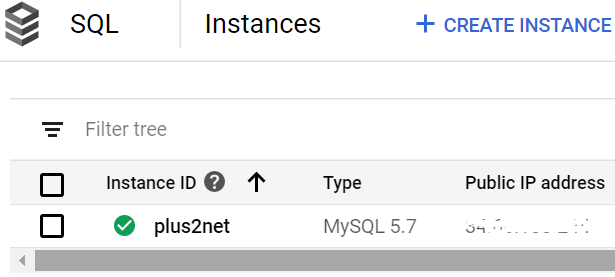
You may have to submit your payment details, this is required for verification.Create an instance
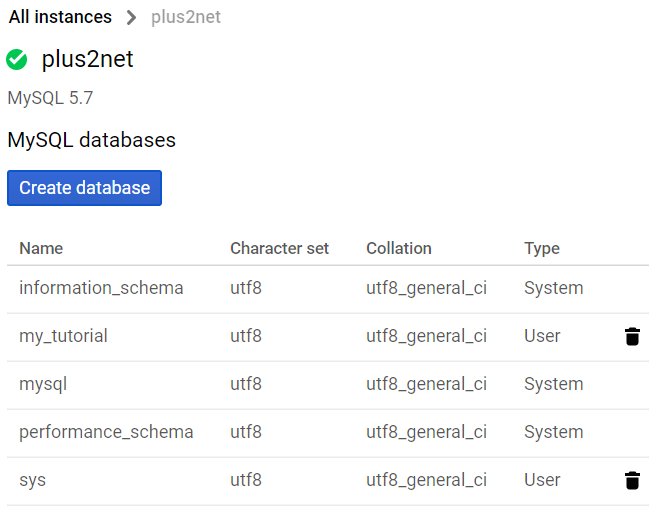
Create an instance of MySQL database for your Project.Create a database
Give a name to your database.
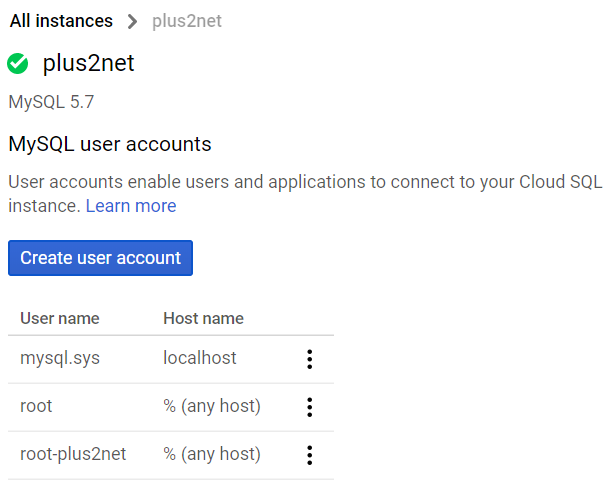
Create user & password.
Create user and password for your database connection.

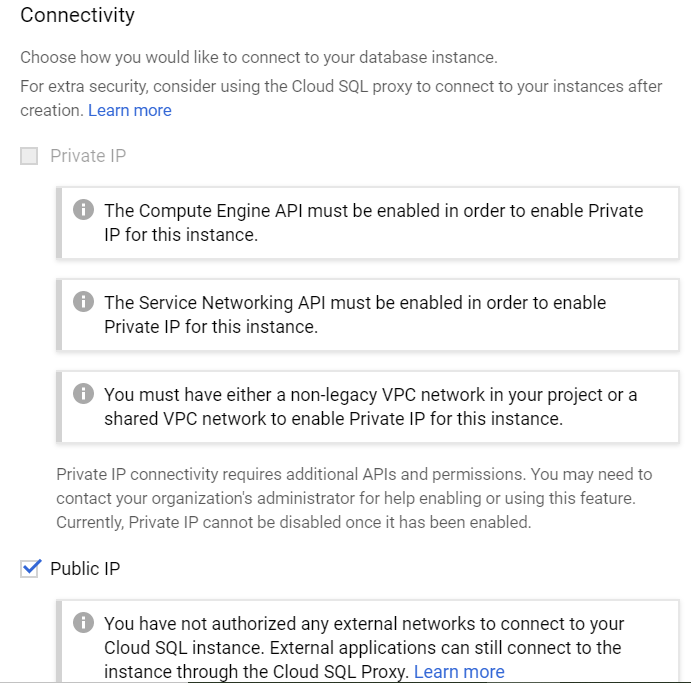
Adding public IP

With all these information we are ready to connect from our local computer. However we have to add our public IP to allow access. Read your IP address from here. Submit your IP address to allow access. You may not have a fixed IP and your internet service provider ( ISP) may be changing your IP address each time you login. Keep updating your IP address each time you use google cloud if your IP address is changing.
Adding Private IP
There are other methods of connection to cloud which can be used. We can use Private IP for a sustained connection ( This is not part of this article).Adding table
Use the SQL dump available of our Student table. You have to create storage bucket first and then add this student SQL file to this bucket. From this bucket you can Import data by selecting the SQL file.This student table we will use in our script to display rows.
Connection using mysql.connector
Read more on MySQL connector here.import mysql.connector
my_connect = mysql.connector.connect(
host="34.68.103.244",
user="root-plus2net",
passwd="********",
database="my_tutorial"
)
####### end of connection details ####
my_cursor = my_connect.cursor()
my_cursor.execute("SELECT * FROM student")
my_result = my_cursor.fetchone()
while my_result is not None:
print(my_result)
my_result = my_cursor.fetchone()Connection using sqlalchemy
Read more on sqlalchemy herefrom sqlalchemy import create_engine
# replace userid, password, localhost and db_name below.
engine = create_engine("mysql+mysqldb://userid:password@localhost/db_name")
query="SELECT * FROM student LIMIT 0,5"
my_data=engine.execute(query) # SQLAlchem engine result
#my_data=my_data.fetchmany(size=2) # collect 2 rows of data
for row in my_data:
print(row)All Built in Functions in Python bin() complex()

Subhendu Mohapatra
Author
🎥 Join me live on YouTubePassionate about coding and teaching, I publish practical tutorials on PHP, Python, JavaScript, SQL, and web development. My goal is to make learning simple, engaging, and project‑oriented with real examples and source code.
Subscribe to our YouTube Channel here
This article is written by plus2net.com team.
https://www.plus2net.com

 Python Video Tutorials