Python tkinter image resize
Video Tutorial on Tkinter Image resize
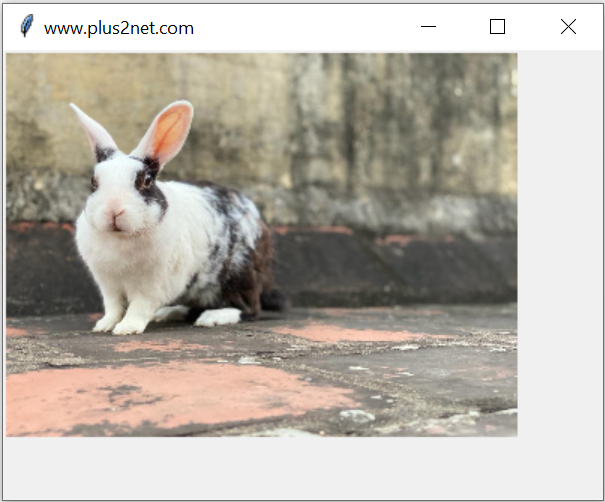
Original size of the image is 1024 x 768, we are reducing the size and displaying the image using one Label.
Python Imaging Library PIL
import tkinter as tk
from PIL import Image, ImageTk
my_w=tk.Tk()
my_w.geometry('400x300')
my_w.title('www.plus2net.com')
img_old=Image.open('D:\\images\\rabbit.jpg')
img_resized=img_old.resize((341,256)) # new width & height
my_img=ImageTk.PhotoImage(img_resized)

l1=tk.Label(my_w,image=my_img)
l1.grid(row=1,column=2)

my_w.mainloop()
resize() with box option
We can use part of the picture or part of the area of the image with coordinates to resize. Here we will display the face only as resized output. Note the coordinates used.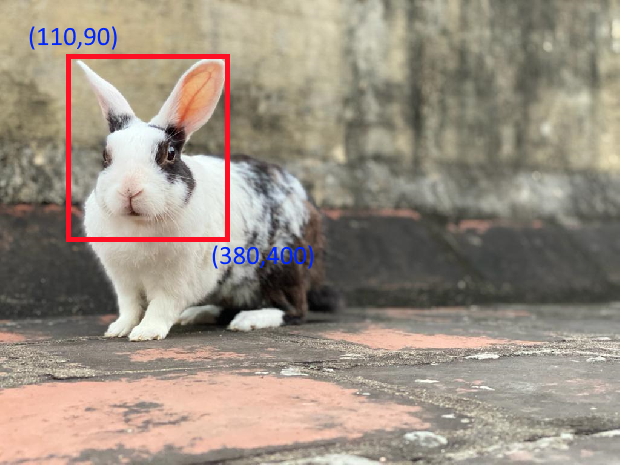
import tkinter as tk
from PIL import Image, ImageTk
my_w=tk.Tk()
my_w.geometry('400x320')
my_w.title('www.plus2net.com')
img_old=Image.open('D:\\images\\rabbit.jpg')

img_resized=img_old.resize((270,310),box=(110,90,380,400))
#im.save('D:\\images\\rabbit_face.jpg')
#im.show()
my_img=ImageTk.PhotoImage(img_resized)
l1=tk.Label(my_w,image=my_img)
l1.grid(row=1,column=2)
my_w.mainloop()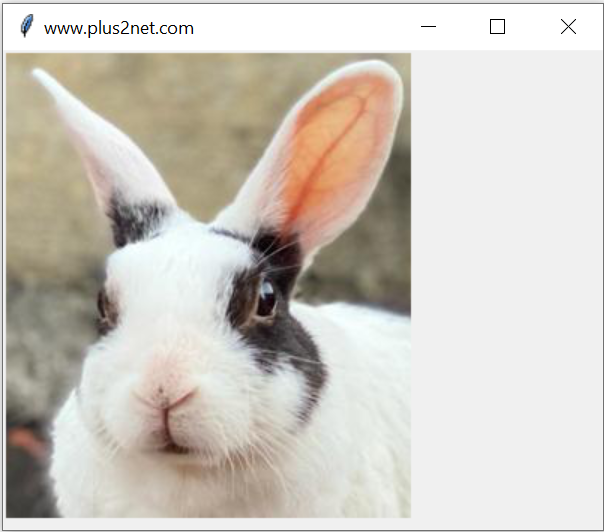
Maintaining Aspect ratio while resizing
Some time we need to maintain the same aspect ratio while resizing the image. In such cases we have to read the height and width of the image and then change the values equally. By using int() we are converting the float output to integer.import tkinter as tk
from PIL import Image, ImageTk
my_w=tk.Tk()
my_w.geometry('400x300')
my_w.title('www.plus2net.com')
img_old=Image.open('D:\\images\\rabbit.jpg')
width, height = img_old.size
width_new=int(width/3)
height_new=int(height/3)
img_resized=img_old.resize((width_new,height_new))
my_img=ImageTk.PhotoImage(img_resized)
l1=tk.Label(my_w,image=my_img)
l1.grid(row=1,column=2)
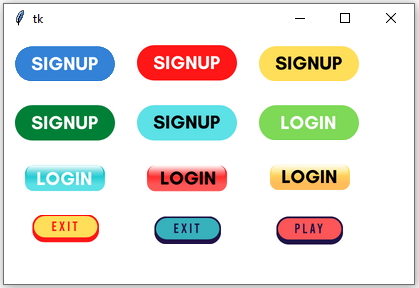
my_w.mainloop()Colourful Buttons by using images
Upload and display image file
Images used over button to create ON / Off switch

Subhendu Mohapatra
Author
🎥 Join me live on YouTubePassionate about coding and teaching, I publish practical tutorials on PHP, Python, JavaScript, SQL, and web development. My goal is to make learning simple, engaging, and project‑oriented with real examples and source code.
Subscribe to our YouTube Channel here
This article is written by plus2net.com team.
https://www.plus2net.com

 Python Video Tutorials